Misalignment / Registration Issue
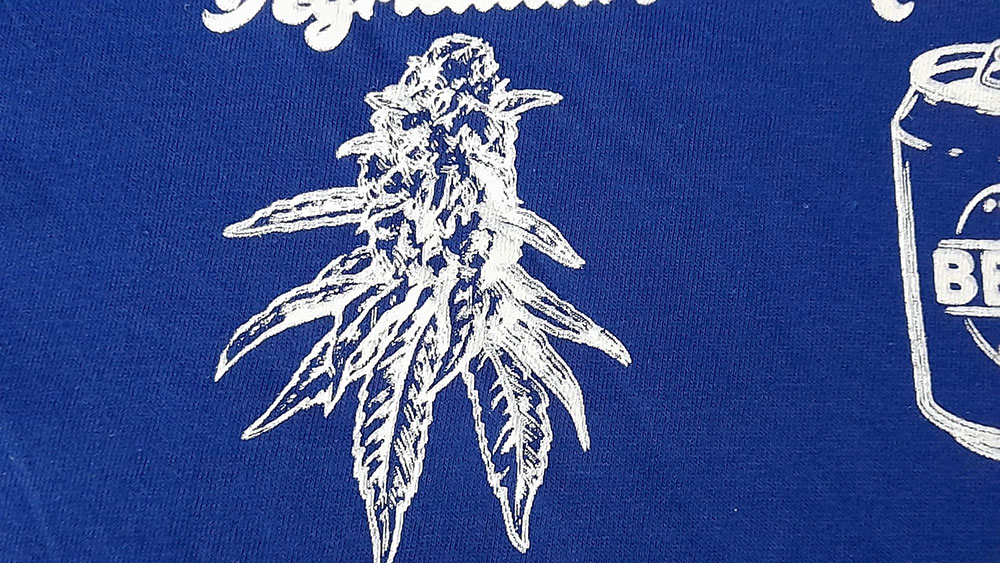
Colors or design elements don't line up correctly, creating a halo or shadow effect around parts of the print. Edges of colors don't overlap cleanly (outlines or gaps), and fine detail looks blurry or doubled. Common on multi-color prints when screens shift slightly or off-contact is uneven.
- Check that the platens are tight and the screens are locked in
- Adjust micros to align the image again
- Run a new test print to verify alignment
Ink Fibrillation (Fuzzy Look After Print)
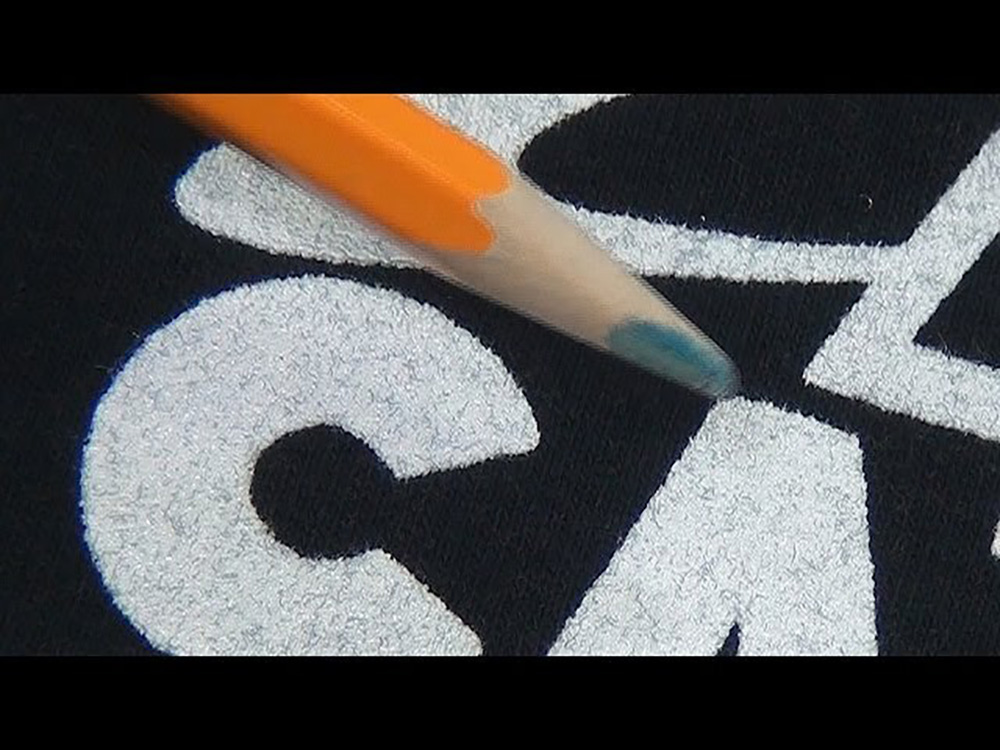
The print looks fuzzy, dull, or textured, and you can sometimes see the fabric hairs through the ink. The surface may feel rough instead of smooth. Common on cotton or fleece garments with high lint content, or when the ink isn't clearing the screen properly.
- If fibrillation is visible after the base layer, use the Stampinator as a flash after the base or a roller squeegee after the first flash
- Increase off-contact or squeegee pressure slightly to improve ink penetration into garment fibers
- Ensure the base is flashed correctly — under-flashing can cause poor adhesion and fibrillation in top colors
- Add an additional print stroke for fuller coverage
Ink Not Clearing Screen
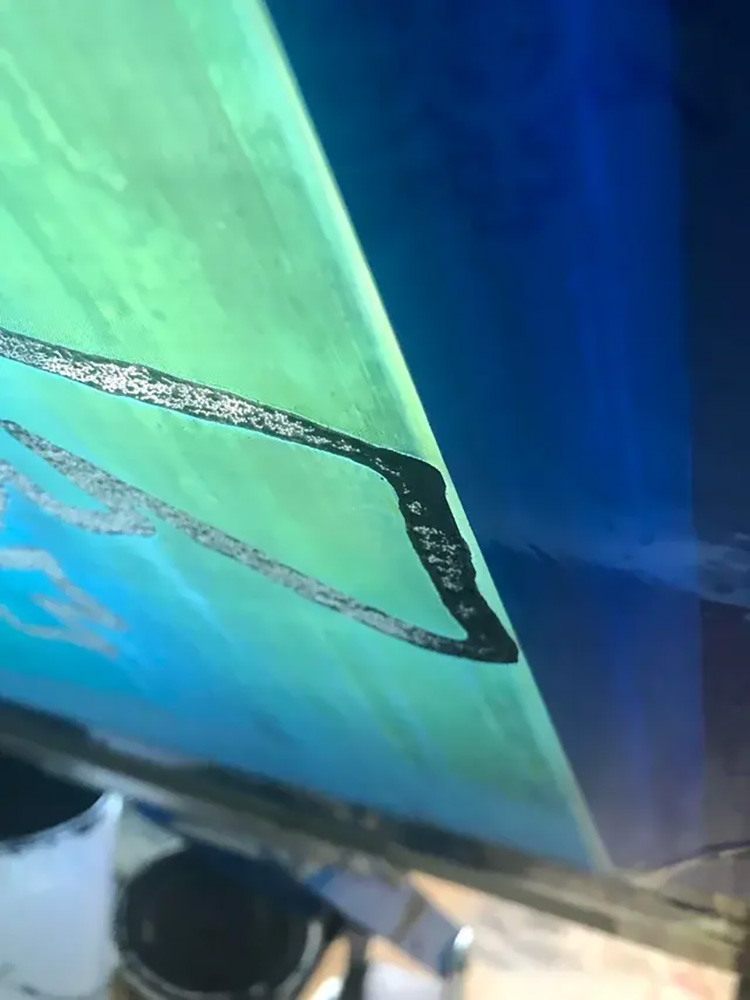
Prints appear patchy, incomplete, or thin — parts of the design look missing. Ink sits on top of the mesh openings instead of transferring cleanly, and you may see dry buildup inside the mesh when inspecting the screen.
- Flash or platens may be too hot — check flash settings and cool pallets if needed
- Make sure the mesh count isn't too high and matches the ink thickness and artwork detail
- Increase squeegee pressure slightly or adjust angle to improve ink flow
- Adjust off-contact for a cleaner snap-off
- If buildup is severe, wipe the screen bottom; for major blockages the screen may need a full clean or replacement
Ink Lifting / Screen Pop
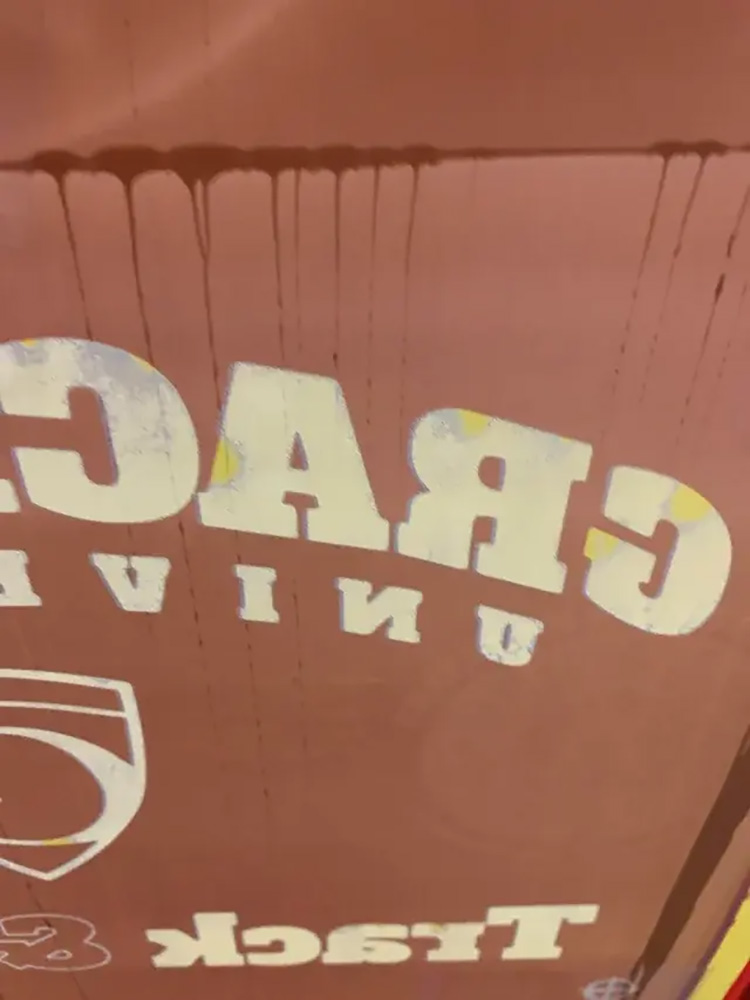
Ink lifts off the garment and sticks to the bottom of the screen, pulling the print upward and causing messy or incomplete prints. Occurs when ink isn't set enough to release cleanly from the screen.
- Ink may still be wet — check flash time (too short or too long can both cause it)
- Ensure proper off-contact and snap-off
- Reduce squeegee pressure on subsequent colors
- Increase speed on screen to minimize wet-on-wet contact time
Under-Cured Ink
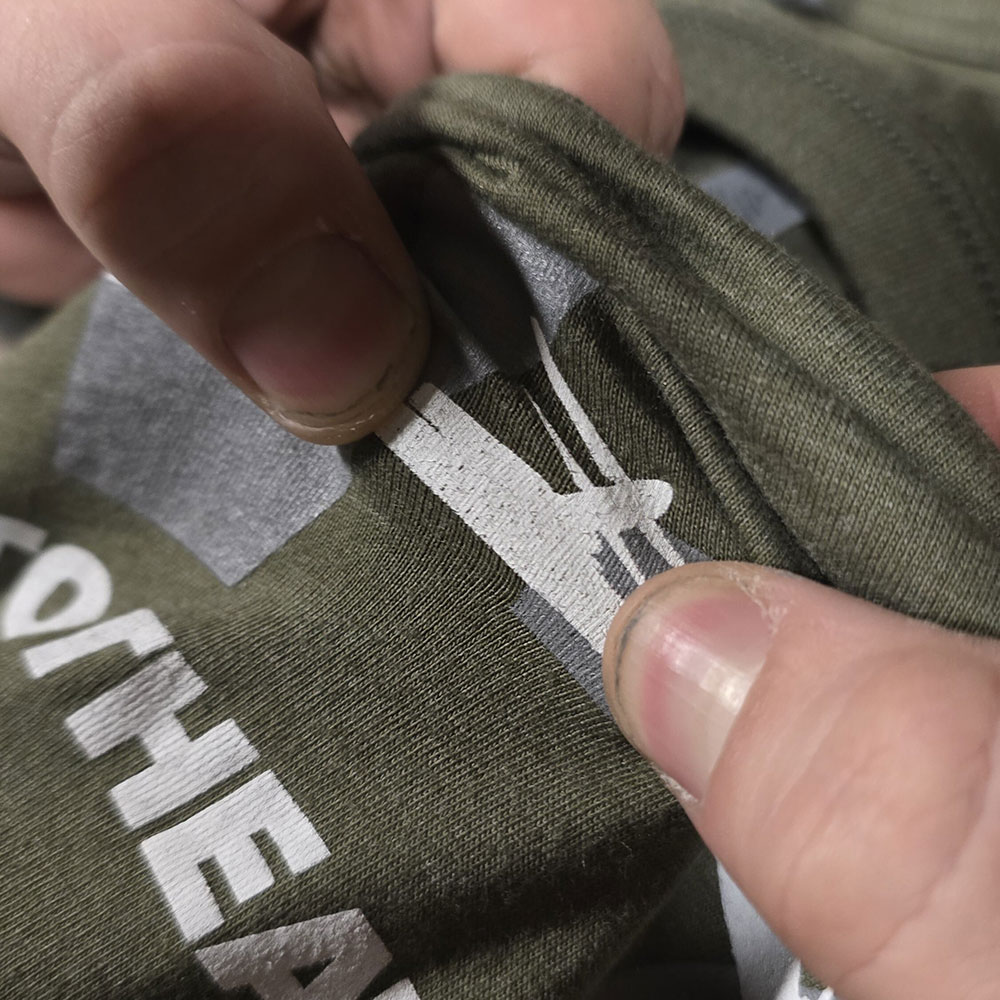
Ink cracks during a stretch test, feels tacky or soft, or flakes when rubbed. Colors may appear dull or inconsistent. The ink didn't reach full cure temperature during drying, resulting in poor adhesion — typically from a dryer temperature that's too low, dwell time that's too short, or an ink layer too thick to cure through.
- Check ink exit temperature with the laser thermometer (laser on the ink while the garment is still slightly in the chamber)
- Incrementally slow belt speed or increase heat if cure temperature isn't met
- Retest prints after adjusting settings
- Re-run all uncured pieces through the dryer
Ghosting
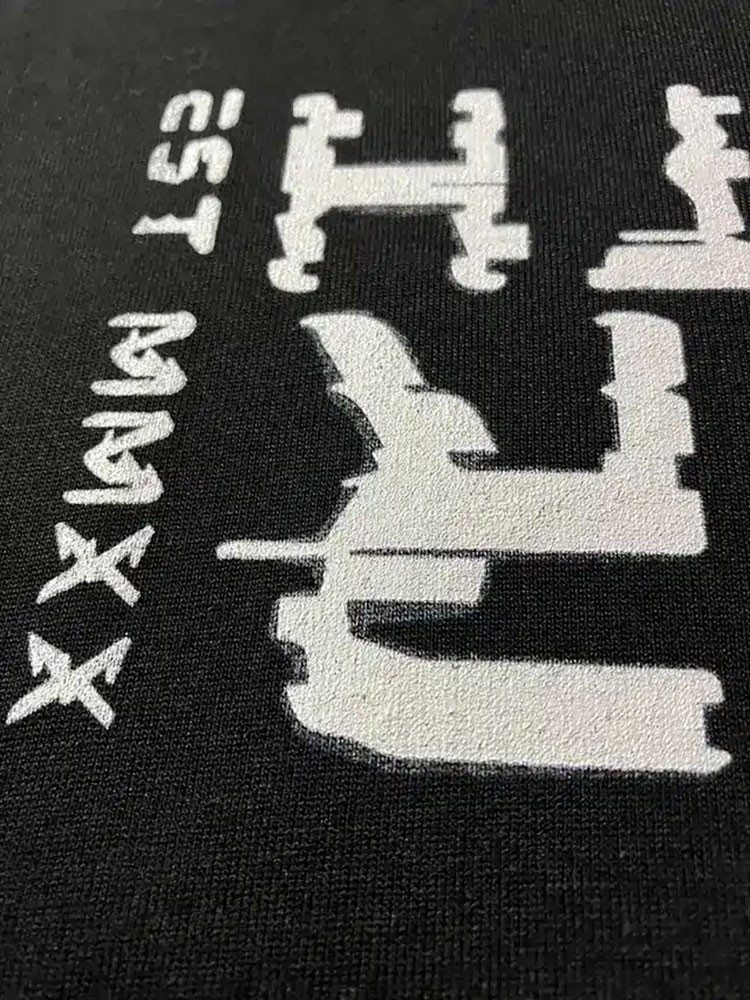
A faint, unwanted shadow near or around the design — usually lighter and slightly offset. Caused by residual ink on the bottom of the screen.
- Wipe the underside of screens to remove residual ink
- Ensure screens are locked in and not shifting
- Review squeegee pressure to avoid excess ink transfer
Lint in the Screen
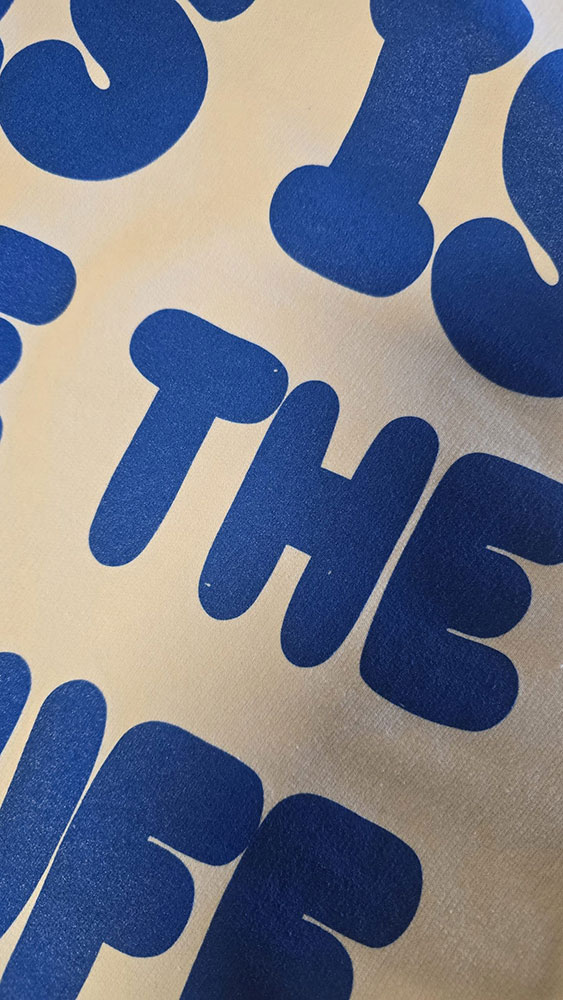
Loose garment fibers or debris get trapped in the mesh, blocking ink flow and creating voids in the print — small pinholes, gaps, or missing spots. Prints may look rough or inconsistent, especially on fleece or lint-heavy garments. On inspection, fibers or fuzz will be visible in the mesh.
- Use a lint-free wipe or scrap shirt to clean the underside of the screen and remove fiber buildup
- Lint-roll garments before loading, especially fleece or heavy cotton
- Clean and re-tack pallets — old adhesive collects lint and transfers it to garments
Ink Smudge (Spiff)
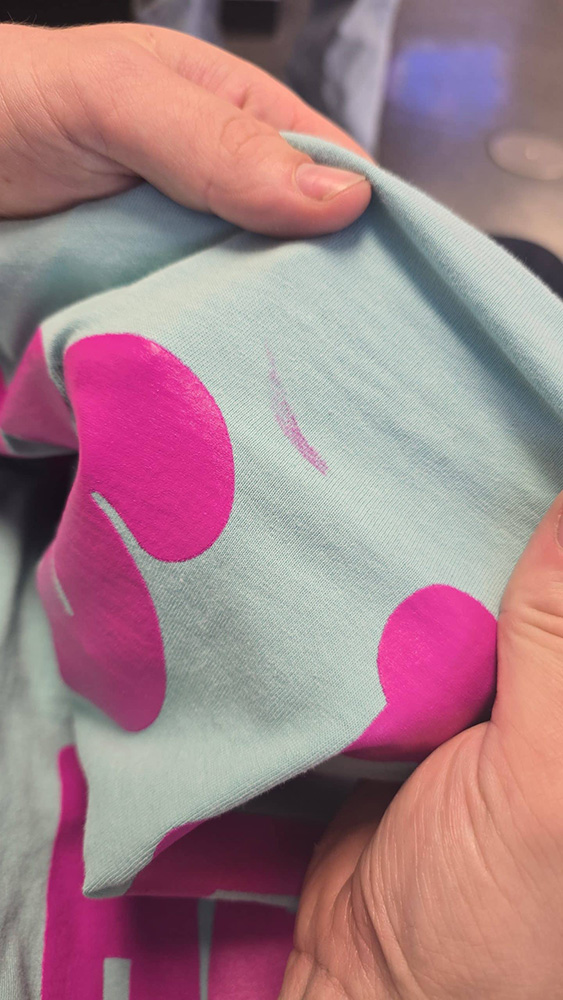
Accidental smears or fingerprints left on the garment during handling. Often happens during loading/unloading or from handling garments with ink on hands.
- If repeated, check hands and arms for ink
- Wipe down the work area and hands before continuing
- Salvage — tape method (light-duty): for light spiffs, press tape into the shirt and quickly remove, several times
- Salvage — spiff gun (heavy-duty): turn on the vacuum and isolate the garment area with the spiff on the hose end. Prime the spiff gun nozzle and spray the ink out — may take a couple of passes. When complete, leave the garment on the hose to dry any excess chemical
Scorched Garment
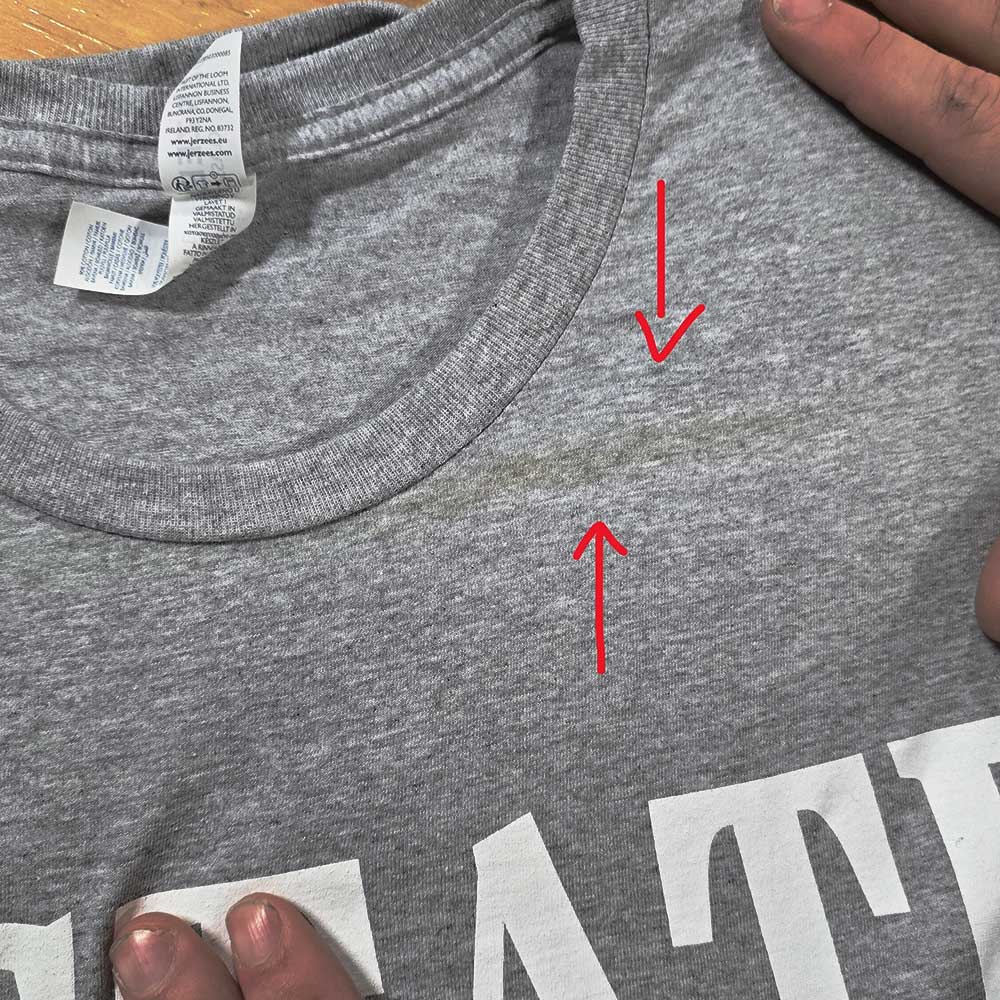
Visible discoloration on the garment — usually darker or brown-tinted areas — and the fabric may feel rough or stiff in the affected spot. Caused by excess heat during printing or curing. Scorching can weaken the fabric so it tears with future wear and washing.
- Check flash and dryer settings
- Adjust flash time and heat
- Minor scorching: try a hydrogen peroxide mist
- Severe scorching: cannot be salvaged — document as a misprint and recalibrate equipment
Ran Out of Ink / Dry-Pull
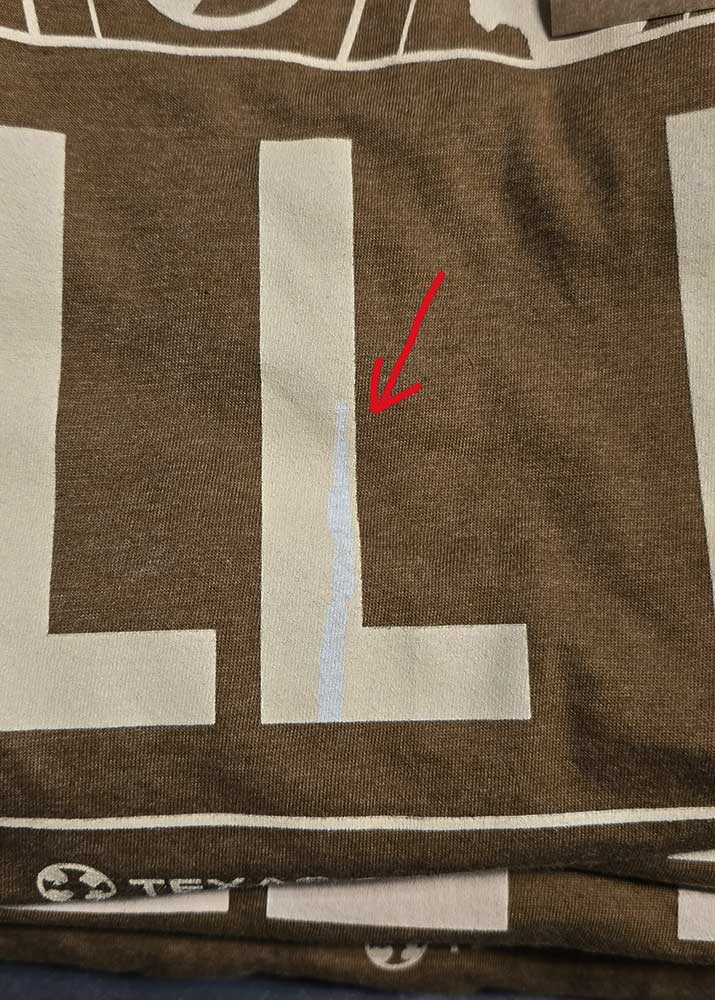
The screen ran out of ink and is no longer printing that section — visible streaks or discoloration on the print. If a top color ran out, the base shows through; if the base screen ran out, the print looks dull or inconsistent.
- Add ink to the screen. If mixing more ink during production, verify color accuracy before adding
- If ink is in the screen but pushed to the side, use a scrape card to move it back to the center of the print area